Quest to Upgrade Laptop (Part 2): Disassembly
I have this gut feeling that hardware is going to be the next big thing in the cycle of trends. If I’m planning to work on computers for the rest of my life, it’s an excellent investment. I can’t stomach buying another $1,000+ computer, and I want to reduce eco-waste.
Despite supply chain disruptions from Coronavirus, I think my parts came pretty fast, all within a week. It’s probably because they’re small and easy to ship.
Supplies #
| Tool | Description |
|---|---|
| Neji-Saurus ESD PZ-57 | Japanese-brand plier for 3mm-8mm heads |
| TECKMAN 10 in 1 Torx Screwdriver Set | Torx set necessary for opening the case |
| Wiha Phillips Screwdriver set | Reliable German brand |
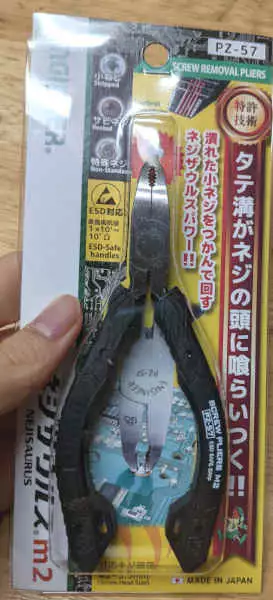
The pliers are for taking out stripped screws, because it’s going to happen whether you like it or not. Also, it has good reviews and seems well-made.
I got cheap Torx screwdrivers because I don’t want to buy Wiha’s expensive stuff, but for phillips screws you need quality screwdrivers because of how annoying and easy they are to strip. And let’s admit it, the “godly German engineering” cliche has a kernel of truth.
Other stuff to have on hand:
- Q-tips
- Microfiber cloth or high quality (non-shedding) paper towels
- Isopropyl alcohol
- Canned air
- Clean and soft paintbrush (preferably new and high quality so it doesn’t shed hair)
Practice first: clean the fans #
I would recommend simply cleaning the fans and spraying dust out of the parts. You’ll be surprised how much gunk gets stuck inside.
Check out Cleaning the cooling module on IrisVista’s newbie guide for instrutions.
The disassembly of the laptop is all about: don’t rush. Make sure you have the right screwhead for the screw, and it fits well. If the screwdriver doesn’t seem to be catching, use a different size. That’s a general guideline for screws in general, from furniture to appliances.
I was dumb the first time I took apart my laptop. By not paying attention, I stripped the screws. I had no pliers or any recovery plan. Tiny, stripped laptop screws are the worst, because once they’re FUBAR, taking a drill or a dremel close to the sensitive parts is just asking for trouble.
Torx screws (star-shaped) are beginner friendly and less prone to stripping, so if anything has a phillips screw (cross-shaped), I’m going to buy the torx version and replace them. I really hate Phillips heads now. Manufacturers cheap out by using soft metal and phillips design, because torx is more expensive.
Order of Operations #
1. Disconnect the battery #
2. Take off heatsink #
Take care to unscrew all screws. Some may be hidden under cloth flaps.
Only grab it by the circled parts as shown, where the thermal pads splay from under the spreaders. Don’t pick it up from the pipes, marked with X, or else they’ll bend.
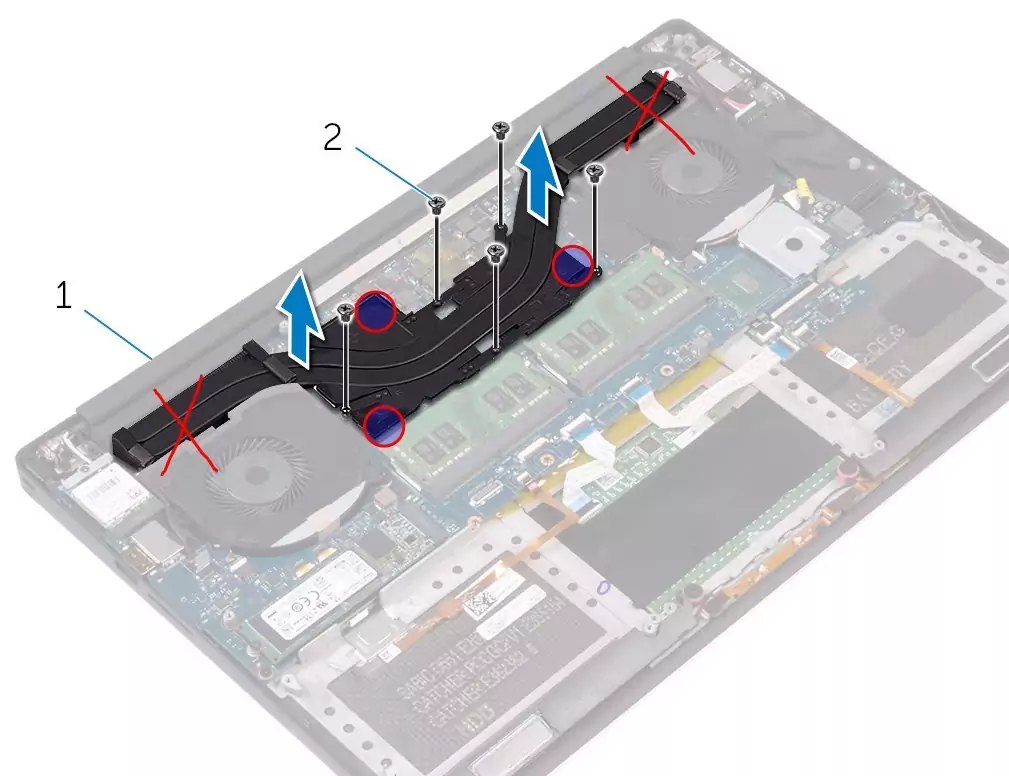
Reference: official guide on how to take out the heatsink.
3. Repaste #
Leave the thermal pads alone—the square-shaped squishy stuff. They usually last a good while and don’t need much replacing (you can if you order pads and have a set of ESD-safe tweezers).
Jump to Replacing thermal grease on the IrisVista guide, or see How to Fix Throttling on the Dell XPS 15 7590/9570/9560 for a more detailed repaste guide. You don’t need a lot because the paste is meant to fill in microgaps on what appears to be smooth surfaces.
Also the last part of the Ultrabook Review guide adds too much extra padding (see this forum post for why).
4. Replace wifi card #
Same as found in Dell’s wifi service manual, except my chip’s Main and Aux colors were switched. Black terminal on the left, and white on the right, so match the cables accordingly.
5. Replace RAM #
Jump to Removing memory modules on the IrisVista guide.
My experience was exactly as they said. When inserting RAM sticks, the side with the barcode sticker goes face-down.
6. Install SSD #
I forgot to take pictures of this, but basically it’ll look like what’s in this guide: Dell XPS 15 9560 Disassembly (SSD, HDD, RAM Upgrade Options)
Test the new parts #
To make sure the new components are installed properly, use the manufacturer’s Diagnostics tool.
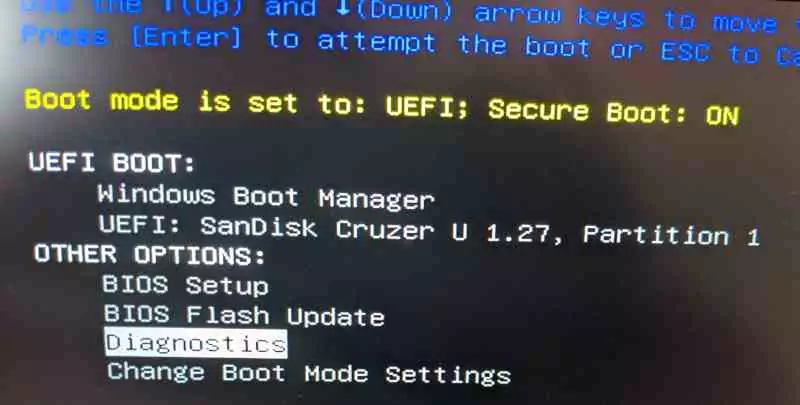
- Go into the boot menu (restart and press F12 when the Dell logo appears).
- Under “Other Options,” there’s a Diagnostics option. Select it and you’ll be taken to the testing screen.
⚠ WARNING: The tests BEEP loudly! I now know where bleepingcomputer.com gets their name.
You can either let it run all the tests, or press ESC to abort.
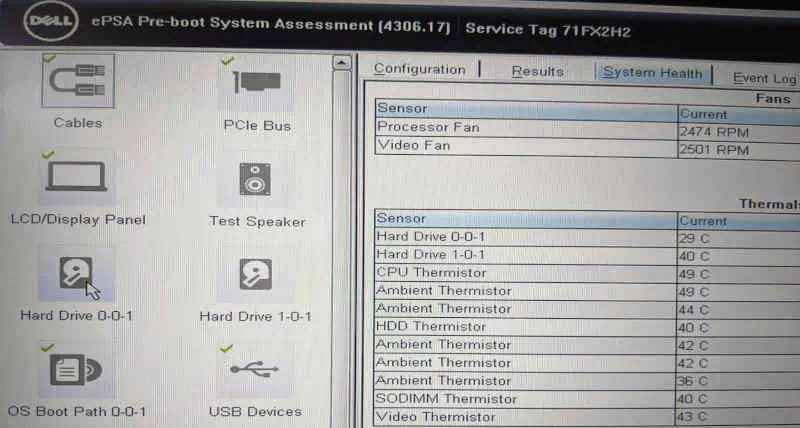
Press the Arrow Button on the bottom right to test components individually.
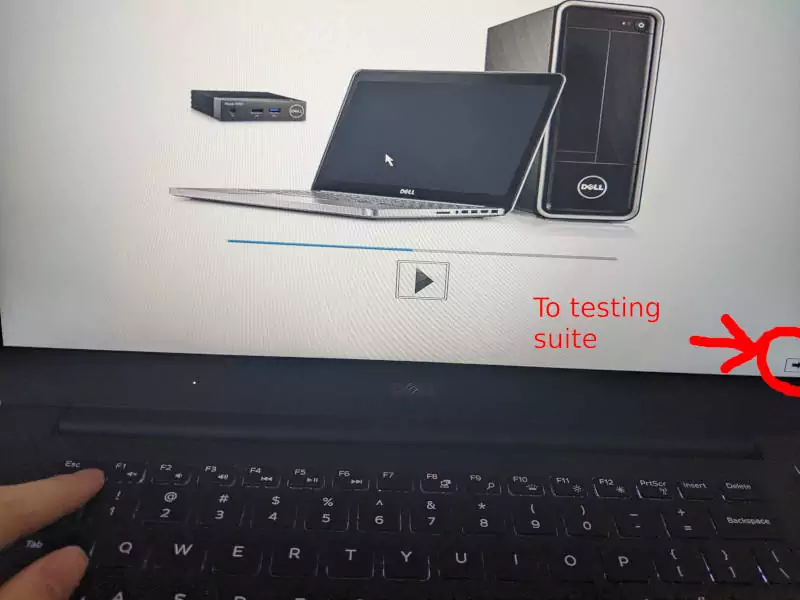
Here, you can test each part individually, such as the hard drives (despite being called HDD, the SSD is installed there).
Conclusions #
To be honest, I orignally skipped testing the hardware because I didn’t know better. When I tried to install the OS, I had problems. The Samsung EVO 870 SSD would show up on the filesystem, but I couldn’t create new folders within it. The option to create new folders was greyed out, but the original NVMe SSD could still create new files.
When I finally discovered Diagnostics and tested the SSD, it failed. I checked the Results tab where it gave out the S/N (serial number), which matched what was on the packaging. The disk was being recognized at least.
Luckily all I had to do was go back into the case and unplug/replug the cable. But if that didn’t work, I’d have to order a new cable. If the new cable still wouldn’t work, then it would mean the SSD itself is defective.
So anyway, the conclusion is to always test your sh*t!